
Baking with Anise Oil: Conversions, Ratios, and Best Practices
Anise oil is one of the most concentrated flavor ingredients you can keep in a kitchen drawer. A single small bottle can outlast a dozen jars of extract, and the depth of flavor it brings to baked goods is genuinely different from what extract delivers. But that concentration cuts both ways. Use too much, and a perfectly baked batch of cookies tastes like a confectioner's nightmare. Use the right amount, and the result is that warm, sweet, slightly spicy licorice note that makes Italian holiday cookies, hard candies, and anise-flavored breads so memorable.
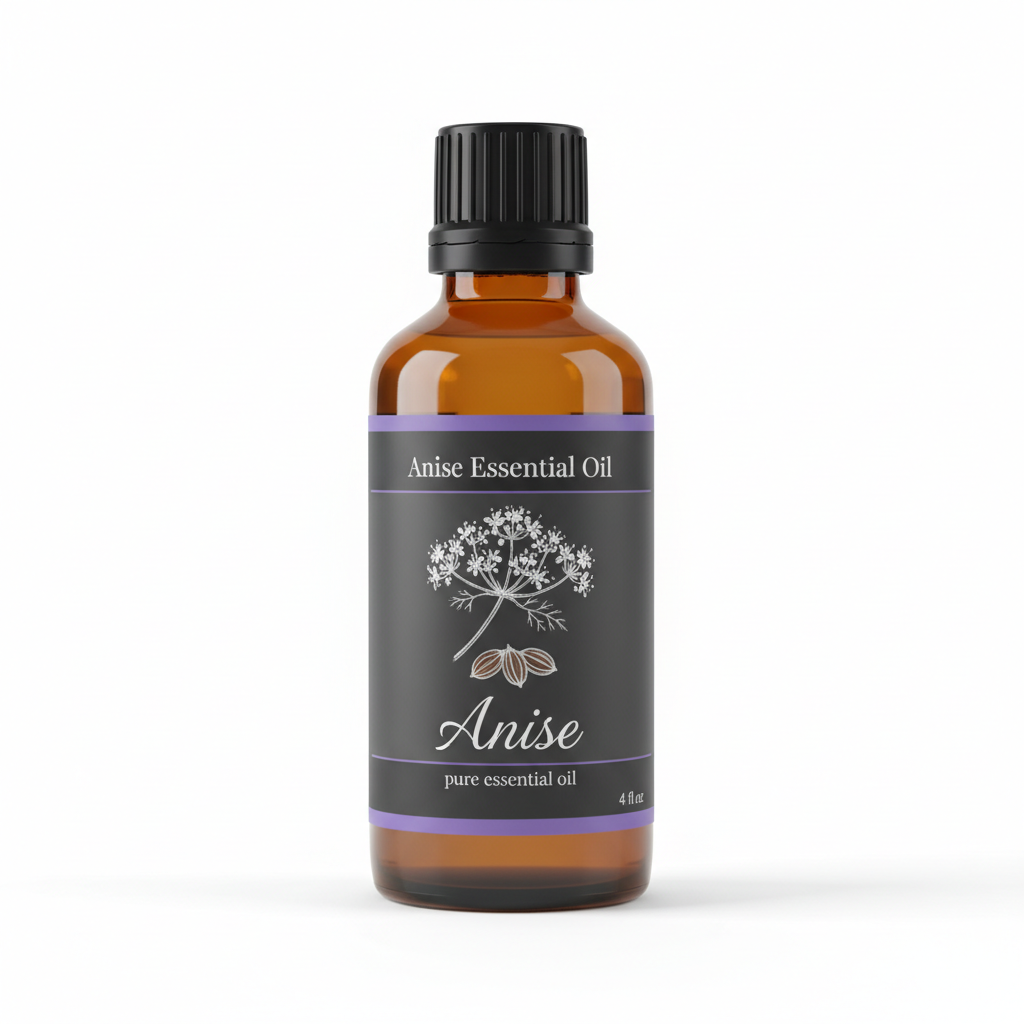
Anise Essential Oil
Our own Anise Essential Oil, in sizes from 0.5 oz to bulk.
From $8.99
Shop Now →This guide walks you through everything you need to know: how to convert between anise oil and anise extract, how to measure accurately at such small volumes, and how to avoid the most common mistakes home bakers make when working with this potent ingredient. If you are new to anise oil for baking, start here.
Understanding Anise Oil vs. Anise Extract
Before converting anything, it helps to understand what you are actually working with. Anise extract is typically made by steeping anise seeds or star anise in alcohol, producing a diluted liquid that carries flavor but also a fair amount of water and ethanol. Anise oil, specifically food-grade anise oil, is the concentrated essential oil pressed or steam-distilled from the seeds of Pimpinella anisum. It contains almost pure anethole, the compound responsible for anise's characteristic scent and flavor.
The practical result: anise oil is roughly four times more concentrated than standard anise extract, though this ratio can vary slightly depending on the brand and distillation method. Some sources cite a 3-to-1 ratio, others closer to 5-to-1. The safe working assumption for most home baking is 1 part anise oil equals 4 parts anise extract, and you should adjust from there based on your palate.
One important point before we go further: this article covers food-grade anise oil intended for culinary use. Standard cosmetic-grade or aromatherapy-grade essential oils are not formulated or tested for consumption. Always verify that the anise oil you purchase is explicitly labeled as food-grade or GRAS (Generally Recognized as Safe) by the FDA. For a broader look at how anise oil fits into the kitchen and beyond, see our anise oil uses ultimate guide.
What You Will Need
- Food-grade anise essential oil (look for Pimpinella anisum or Illicium verum on the label)
- A set of precise measuring spoons, including 1/8 teaspoon and 1/4 teaspoon sizes
- A dropper or graduated pipette (most food-grade anise oils include one)
- A small glass or ceramic mixing bowl for pre-mixing oil into wet ingredients
- Your standard baking recipe calling for anise extract or anise flavoring
- A kitchen scale if your recipe is weight-based
- A notebook or recipe card for tracking your adjustments
The Conversion Chart: Anise Oil Substitute for Extract
Here is a straightforward reference table for substituting anise oil in place of anise extract. These figures assume a standard 4:1 concentration ratio. If your oil is exceptionally potent (some single-origin distillations are), start at the lower end and taste as you go.
| Anise Extract Called For | Anise Oil to Use (4:1 ratio) | Approximate Drop Count* |
|---|---|---|
| 1/4 teaspoon | Scant 1/16 teaspoon | 3 to 4 drops |
| 1/2 teaspoon | Scant 1/8 teaspoon | 6 to 7 drops |
| 1 teaspoon | 1/4 teaspoon | 12 to 14 drops |
| 1 tablespoon | 3/4 teaspoon | 36 to 42 drops |
| 2 tablespoons | 1.5 teaspoons | 72 to 84 drops |
*Drop counts are approximate. Dropper size and oil viscosity affect yield. Use the spoon measurement as your primary guide.
A practical note: most home baking recipes call for somewhere between 1/4 teaspoon and 1 teaspoon of anise extract. That translates to a very small quantity of anise oil. This is where a dropper becomes genuinely useful rather than optional.
Step-by-Step: How to Bake with Anise Oil
Step 1: Source Food-Grade Oil and Confirm the Label
Not all essential oils belong in food. Check the label carefully before purchasing. Look for terms like "food-grade," "culinary grade," "GRAS," or "suitable for flavoring." The botanical name should appear on the label: Pimpinella anisum for true anise, or Illicium verum for star anise oil (which has a very similar flavor profile and is often used interchangeably in baking). Star anise oil tends to be slightly sweeter and rounder; true anise can be sharper and more medicinal at high concentrations.
Step 2: Read Your Recipe and Identify the Flavor Intensity
Before you measure anything, think about how much anise flavor the finished product should carry. A deeply anise-forward cookie like an Italian anise biscotti is built around that flavor. A lightly flavored springerle or anise-scented bread uses it as a subtle accent. This matters because you may want to scale down from the chart's starting point if your recipe is delicate, or scale up slightly if anise is the centerpiece. Check out our Italian anise cookies recipe for a practical example of how oil-based flavoring performs in a traditional dough.
Step 3: Measure Into a Wet Ingredient First
This step is the one most beginners skip, and it causes uneven flavor distribution. Anise oil does not blend easily into dry ingredients directly. Instead, drop your measured oil into a wet component of the recipe first: eggs, melted butter, oil, or milk work well. Whisk or stir gently to disperse the oil throughout the liquid before combining with the rest of the batter or dough.
If your recipe is very low in liquid, add the anise oil to any fat in the recipe. Anethole is fat-soluble, so it blends readily into butter, shortening, or cooking oil.
Step 4: Mix Gently After Adding
Over-mixing after adding flavoring can cause some volatile aromatic compounds to escape, particularly in warmer environments. Mix just until the wet ingredients are combined, then proceed with your recipe as written. You do not need to change your technique in any other way.
Step 5: Taste the Raw Dough or Batter (Where Safe to Do So)
Cookie doughs made with egg can carry food safety concerns around raw tasting, so use your judgment here. For eggless doughs, a small pinch tasted directly gives useful information. The flavor will mellow slightly during baking, but not dramatically. If the raw dough already tastes balanced, the finished baked good will likely be right where you want it.
Step 6: Bake and Evaluate Before Scaling
If you are making a new recipe or using anise oil for the first time, bake a small test batch. A half-dozen cookies costs you very little time and gives you clear information before you commit the full batch. Note how many drops you used and how the flavor reads after baking. Write it down. This sounds obvious, but flavor memory is unreliable across a week or two, and having exact notes makes the next batch easier.
Tips for Getting the Best Results
Work with Room-Temperature Oil
Anise oil stored in the refrigerator (common for preserving shelf life) may be more viscous than room-temperature oil. This affects how it drops from a dropper. Let the bottle sit at room temperature for ten minutes before measuring to get a more consistent drop size.
Use Glass or Stainless Steel for Measuring
Essential oils can interact with some plastics over time, particularly low-density plastics. A glass dropper, ceramic spoon, or stainless steel measuring spoon is a better choice than a plastic measuring set for these applications.
Store Leftover Oil Properly
Light and heat are the main enemies of concentrated aromatic oils. Keep your anise oil in its original amber glass bottle, capped tightly, in a cool dark cabinet or the refrigerator. Properly stored, food-grade anise oil can retain its flavor potency for two years or more.
Pair Anise Oil with Complementary Flavors
Anise's natural sweetness pairs well with citrus zest, vanilla, almond, and fennel. In baked goods, a small amount of orange zest alongside anise oil rounds out the flavor and adds complexity. This combination appears frequently in Mediterranean and Middle Eastern pastry traditions for good reason.
Common Mistakes to Avoid
Using Too Much, Too Fast
This is the most common mistake. A recipe that calls for 1 teaspoon of extract needs only about 1/4 teaspoon of oil. Misreading the conversion and adding a full teaspoon of oil to a cookie recipe will produce an overwhelmingly strong result. When in doubt, start with half the converted amount and adjust upward next time.
Adding Oil Directly to Dry Ingredients
Anise oil dropped onto flour, sugar, or baking powder will not distribute evenly. You will end up with pockets of intense flavor and sections of the baked good with almost none. Always incorporate the oil into a liquid or fat first.
Confusing Anise Oil with Anise Seed Extract or Anise Spirits
These are not interchangeable in the same proportions. Anise spirits (like anisette or pastis) are far more diluted than extract and add significant liquid to a recipe. Anise seed extract (water-based, sometimes labeled as anise flavor) may be closer in concentration to standard extract but varies by brand. Anise essential oil sits at the most concentrated end of this spectrum. Know what you have before converting.
Skipping the Test Batch
Even experienced bakers skip this when they are in a hurry, and it sometimes costs them a full batch. For high-stakes baking (holiday cookies, a gift, a special occasion), a small test batch is worth the extra thirty minutes.
Anise Oil in Specific Baked Goods
Cookies and Biscotti
Cookies are the most forgiving application. The dry, crisp texture of biscotti or Italian anise cookies means the flavor concentrates as moisture bakes off. Start at the lower end of your conversion range and you can always increase for the next batch.
Cakes and Quick Breads
Moist cakes and quick breads have a lighter crumb that carries flavor differently than a dense cookie. A subtle hand with anise oil suits these well. Anise pairs particularly well in an orange-scented loaf or a traditional Greek tsoureki-style bread.
Hard Candies and Lollipops
Candy making with anise oil requires attention to a different set of variables. Sugar syrups are cooked to high temperatures, and flavor oils are added at the end after the syrup comes off heat. Adding oil to actively boiling syrup causes it to volatilize rapidly and can cause dangerous splattering. Always add anise oil to candy syrup after removing from heat and allowing it to cool briefly to around 300 degrees Fahrenheit. For a detailed walkthrough, see our guide to old-fashioned anise hard candy.
A Note on Quality and Sourcing
The flavor differences between a high-quality food-grade anise oil and a lower-quality product are noticeable in the finished bake. Well-sourced anise oil from reputable distillers carries a clean, round sweetness with brightness at the top. Lower-quality oil may have a harsher, more medicinal sharpness that does not soften much during baking. When buying anise oil for culinary use, look for clear labeling of origin, distillation method, and food-grade certification. Paying slightly more for a verified source is worth it when a single bottle will last you through dozens of baking sessions.
Baking with anise oil rewards patience and precision. The conversions are simple once you internalize the 4:1 ratio, the measuring technique takes thirty seconds to learn, and the flavor payoff in finished baked goods is genuine. Once you have a few successful batches behind you, working with anise oil becomes second nature. Keep good notes, trust the process, and let the aroma in your kitchen do the rest.