
Italian Anise Cookies Made with Oil: A Classic Family Recipe
There is something deeply comforting about a tin of Italian anise cookies sitting on a kitchen counter. The scent alone brings back holiday kitchens, grandmothers in aprons, and tables crowded with people who all wanted the last one. This anise cookie recipe carries that same warmth, updated with a modern pantry note: anise essential oil instead of anise extract or seeds.
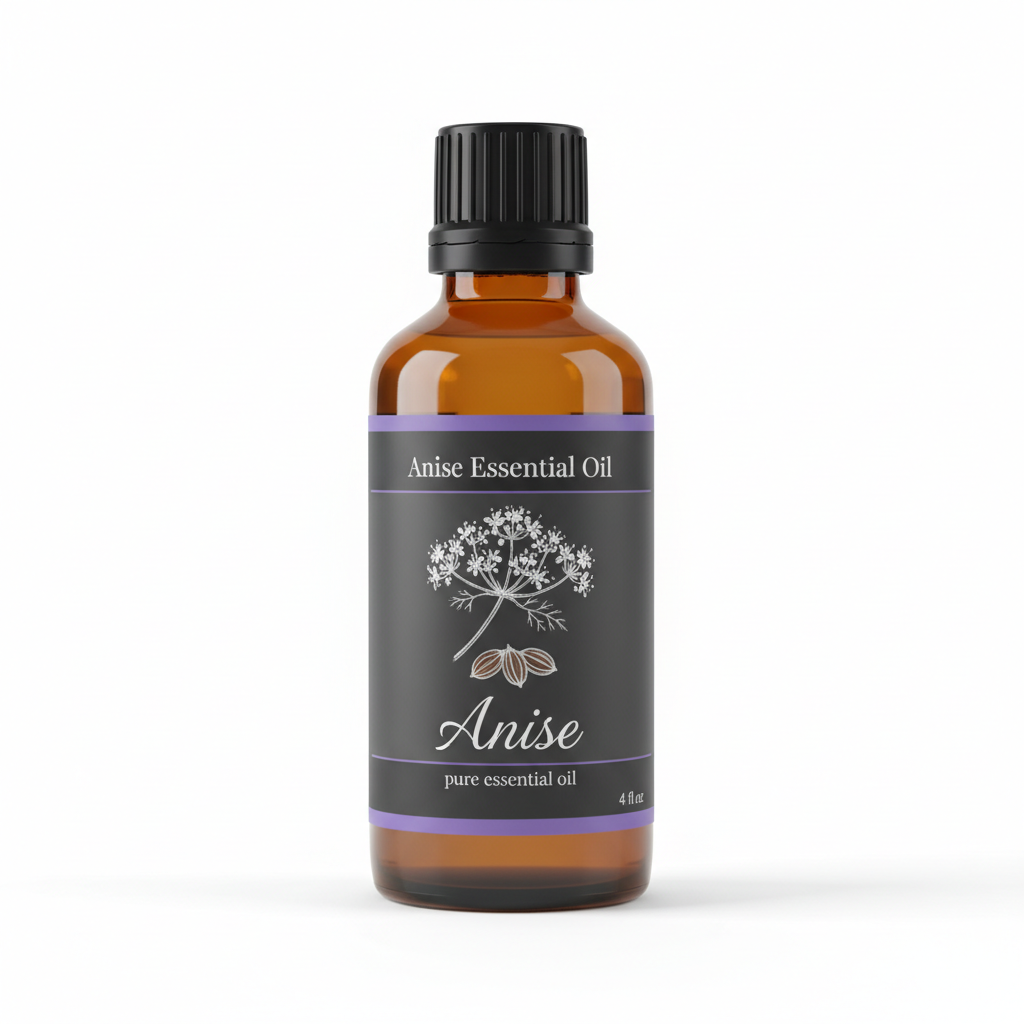
Anise Essential Oil
Our own Anise Essential Oil, in sizes from 0.5 oz to bulk.
From $8.99
Shop Now →Using anise oil in cookies gives you a clean, concentrated flavor that is easier to control than seeds and often more consistent than extract, depending on your source. A single small drop can perfume an entire batch. That precision is part of what makes anise oil cookies so appealing for home bakers who want bold flavor without guesswork.
This guide walks you through the full recipe, shares sourcing tips for the oil, covers safety notes you genuinely need to read before you begin, and offers variations for different skill levels and taste preferences.
Before You Begin: A Note on Anise Essential Oil in Food
Anise essential oil is highly concentrated. It is not the same as anise extract, and the two are not interchangeable at equal measurements. Where a recipe might call for a teaspoon of anise extract, you would use only a small fraction of that amount in oil form.
Food-grade or GRAS-listed (Generally Recognized as Safe) anise essential oil is the only type appropriate for culinary use. Cosmetic-grade oils are formulated differently and should never be used in food. Always check the product label before purchasing. If the label does not specify food-safe or culinary-grade, contact the supplier directly.
Start with less than you think you need. You can always add another drop; you cannot take one away. For most batches of 24 to 36 cookies, one to two drops of high-quality anise essential oil is sufficient. Some oils are stronger than others depending on the distillation process and the country of origin.
If you want to explore the full range of ways anise oil shows up in the kitchen and beyond, our Anise Oil Uses: The Ultimate Guide from Kitchen to Tackle Box is a helpful starting point.
Recipe Overview
- Difficulty: Beginner to intermediate
- Prep time: 20 minutes
- Chill time: 30 minutes (optional but recommended)
- Bake time: 10 to 12 minutes per tray
- Total time: Approximately 1 hour 15 minutes
- Yield: 28 to 32 cookies
Ingredients
For the Cookies
- 3 cups (360 g) all-purpose flour, plus more for dusting
- 1 tablespoon baking powder
- 1/2 teaspoon fine sea salt
- 3/4 cup (150 g) granulated sugar
- 3 large eggs, room temperature
- 1/2 cup (120 ml) neutral oil (see notes on oil choice below)
- 1 to 2 drops food-grade anise essential oil
- 1 teaspoon pure vanilla extract
- 2 tablespoons whole milk or a plant-based alternative
For the Glaze
- 2 cups (240 g) powdered sugar, sifted
- 3 to 4 tablespoons whole milk
- 1 drop food-grade anise essential oil (optional, for a more pronounced finish)
- Sprinkles or nonpareils for finishing (optional)
A Note on Oil Choice for the Dough
Traditional Italian anise cookies made with oil often use light olive oil, which adds a subtle savory undertone that plays beautifully against the anise. If you prefer a more neutral base, refined avocado oil or a light vegetable oil works well. Extra-virgin olive oil can be a bit assertive here; use it only if you enjoy that flavor pairing.
Step-by-Step Instructions
Step 1: Prepare Your Workspace
Preheat your oven to 375°F (190°C). Line two baking sheets with parchment paper. Have all ingredients measured and at room temperature before you begin. Room-temperature eggs blend into the dough more smoothly and produce a lighter cookie.
Step 2: Mix the Dry Ingredients
In a large bowl, whisk together the flour, baking powder, and salt. Set aside.
Step 3: Combine the Wet Ingredients
In a separate medium bowl, whisk together the sugar and eggs until pale and slightly thickened. This takes about two minutes by hand. Add the oil, milk, and vanilla extract. Whisk until fully combined.
Now comes the moment that requires care. Add one drop of food-grade anise essential oil to the wet mixture. Whisk it in thoroughly before deciding whether to add a second drop. Taste a small amount of the wet mixture on the tip of your finger. If the anise is present but not sharp, you are in the right range. If it already seems bold, stop at one drop.
Step 4: Bring the Dough Together
Pour the wet ingredients into the dry ingredients. Use a wooden spoon or rubber spatula to fold everything together until a soft dough forms. The dough will be slightly sticky. That is normal.
If the dough feels too sticky to roll, cover it with plastic wrap and refrigerate for 30 minutes. This makes shaping much easier and helps the cookies hold their shape during baking.
Step 5: Shape the Cookies
Lightly flour a clean surface. Scoop tablespoon-sized portions of dough and roll each one into a ball or a short log shape, about 2 inches long. You can also roll them into thin ropes and twist two together for a braided look, which is a classic Italian presentation.
Place cookies about 1.5 inches apart on the prepared baking sheets. They spread slightly but not dramatically.
Step 6: Bake
Bake for 10 to 12 minutes, until the bottoms are just barely golden and the tops remain pale. These cookies are meant to be soft, not crisp. Pull them out before they look fully done. They firm up as they cool.
Transfer to a wire rack and allow to cool completely before glazing. Glazing warm cookies will make the glaze run and absorb unevenly.
Step 7: Make the Glaze
Whisk together the sifted powdered sugar and milk, starting with 3 tablespoons of milk and adding more a few drops at a time until you reach a thick but pourable consistency. It should coat the back of a spoon and fall in a slow ribbon.
If you want a stronger anise presence in the glaze, add one drop of food-grade anise oil and whisk well. Keep in mind that the glaze sits on the surface of the cookie and the flavor will be noticeable, so taste as you go.
Step 8: Glaze and Finish
Dip the top of each cooled cookie into the glaze, let the excess drip off, and place it glaze-side up on the rack. Add sprinkles or nonpareils immediately before the glaze sets. The glaze firms up within about 20 minutes at room temperature.
Safety Notes for Using Anise Essential Oil
These safety notes apply specifically to culinary use. They are not a substitute for guidance from a qualified healthcare provider or a certified aromatherapist.
- Use only food-grade oil. Cosmetic or aromatherapy-grade anise oils are not formulated for ingestion. Check your label carefully.
- Less is always more. One to two drops per batch is the appropriate range for this recipe. Overconsumption of concentrated anise oil is not advisable. Do not increase the amount thinking it will improve flavor. Beyond a certain point, excess anise oil creates a sharp, almost medicinal edge that is unpleasant.
- Sensitivities and individual responses vary. Some people are sensitive to anethole, the primary compound in anise oil. If you or any guest has known sensitivities to anise, fennel, or related plants in the Apiaceae family, skip the anise oil and use a small amount of vanilla extract instead.
- Children and pregnant individuals. Consult a qualified healthcare provider before serving foods containing concentrated essential oils to young children or during pregnancy.
- Topical note (for cosmetic use only): This recipe is for food. If you ever use anise oil in a cosmetic application such as a lip balm or skin product, a patch test is required. Apply a diluted amount (no more than 1% concentration in a carrier) to the inner arm and wait 24 hours before broader use. This does not apply to this cookie recipe but is noted here as a general reference for readers who use anise oil across multiple applications. For more on that topic, see our article on Anise Oil for Hair: Cosmetic Uses in Rinses and Scalp Blends.
Storage Instructions and Shelf Life
| Storage Method | Container | Shelf Life |
|---|---|---|
| Room temperature | Airtight tin or container | 5 to 7 days |
| Refrigerator | Airtight container with parchment between layers | Up to 2 weeks |
| Freezer (unglazed) | Zip-top freezer bag or airtight container | Up to 3 months |
| Freezer (glazed) | Airtight container, single layer or with parchment dividers | Up to 6 weeks (glaze may cloud slightly on thawing) |
For best results, freeze unglazed cookies and add the glaze fresh after thawing. The cookies thaw at room temperature in about 45 minutes.
Variations and Substitutions
Orange Anise Glaze
Replace half the milk in the glaze with fresh-squeezed orange juice. Add a teaspoon of finely grated orange zest. The citrus lifts the anise note and brightens the overall flavor profile considerably.
Almond and Anise
Add 1/2 teaspoon of pure almond extract to the dough alongside the anise oil. These two flavors have a long history together in Italian baking. The almond rounds out the sharpness of anise and adds a soft nuttiness.
Lemon Anise
Add the zest of one lemon to the dough. The brightness of lemon zest makes the anise feel lighter and works especially well in summer or spring baking.
Chocolate-Dipped
Skip the white glaze entirely. Once the cookies are cool, dip each one halfway into melted dark chocolate. Set on parchment until the chocolate firms. Dark chocolate and anise are a classic pairing in Southern Italian confection traditions.
Gluten-Free Adaptation
A 1-to-1 gluten-free flour blend (one that includes xanthan gum) works reasonably well here. The texture will be slightly denser and more crumbly. Chilling the dough is especially important when using gluten-free flour, as the dough is harder to handle at room temperature.
Oil Substitutions in the Dough
If you prefer a richer cookie, substitute 1/4 cup of the oil with an equal amount of full-fat plain Greek yogurt. This adds a slight tang and a softer crumb. The yield stays the same.
Sourcing Quality Anise Oil for Baking
The quality of your anise oil will directly shape the flavor of these cookies. Look for food-grade anise essential oil that lists Pimpinella anisum as the botanical source. Oils derived from star anise (Illicium verum) have a similar aroma profile but are technically different plants. Both can work in baking, though true anise oil from Pimpinella anisum tends to be slightly sweeter and more delicate.
Reputable suppliers will provide GC/MS (gas chromatography/mass spectrometry) test results on request, confirming the oil's composition and purity. For culinary purposes, this level of transparency matters. A diluted or adulterated oil will produce unpredictable flavor results and may contain carrier agents that are not appropriate for food use.
If you love working with anise oil in the kitchen, you might also enjoy our recipe for Old-Fashioned Anise Hard Candy with Anise Oil, which shows off the oil's flavor in a very different confection format.
Frequently Asked Questions
Can I use anise extract instead of anise oil?
Yes, but adjust the amount. Anise extract is much less concentrated than essential oil. Use one teaspoon of anise extract in place of one to two drops of anise essential oil. The flavor will be slightly different, often a bit less sharp and more rounded, but the result is still a recognizable anise cookie.
Why are my cookies spreading too much?
This usually means the dough was too warm when it went into the oven or the baking sheet was warm from a previous batch. Chilling the dough and using a cool, parchment-lined pan for each batch helps significantly.
Can I make the dough ahead of time?
Yes. Wrap the dough tightly in plastic and refrigerate for up to 48 hours. You can also freeze the shaped, unbaked cookies on a sheet pan and then transfer them to a bag. Bake directly from frozen, adding two to three minutes to the bake time.
My glaze is too thick. How do I fix it?
Add milk one teaspoon at a time, whisking between each addition. Glaze thickens quickly as the powdered sugar absorbs liquid, so small adjustments are the key to getting the right consistency.
Italian anise cookies made with oil have been part of family baking traditions for generations, and for good reason. They are simple to make, generous in yield, and the flavor is unlike anything a supermarket tin can offer. Keep a bottle of high-quality food-grade anise oil in your pantry and you are always one hour away from a batch worth sharing.