Old Fashioned Anise Hard Candy with Anise Oil
There is something deeply nostalgic about anise hard candy. The sharp, sweet, spice-market warmth of it. The way it lingers. This anise hard candy recipe brings that classic confection into your own kitchen, using food-grade anise essential oil as the flavoring agent. The result is a glossy, old-fashioned candy with a clean, bright anise note that bottled anise extract sometimes cannot quite match.
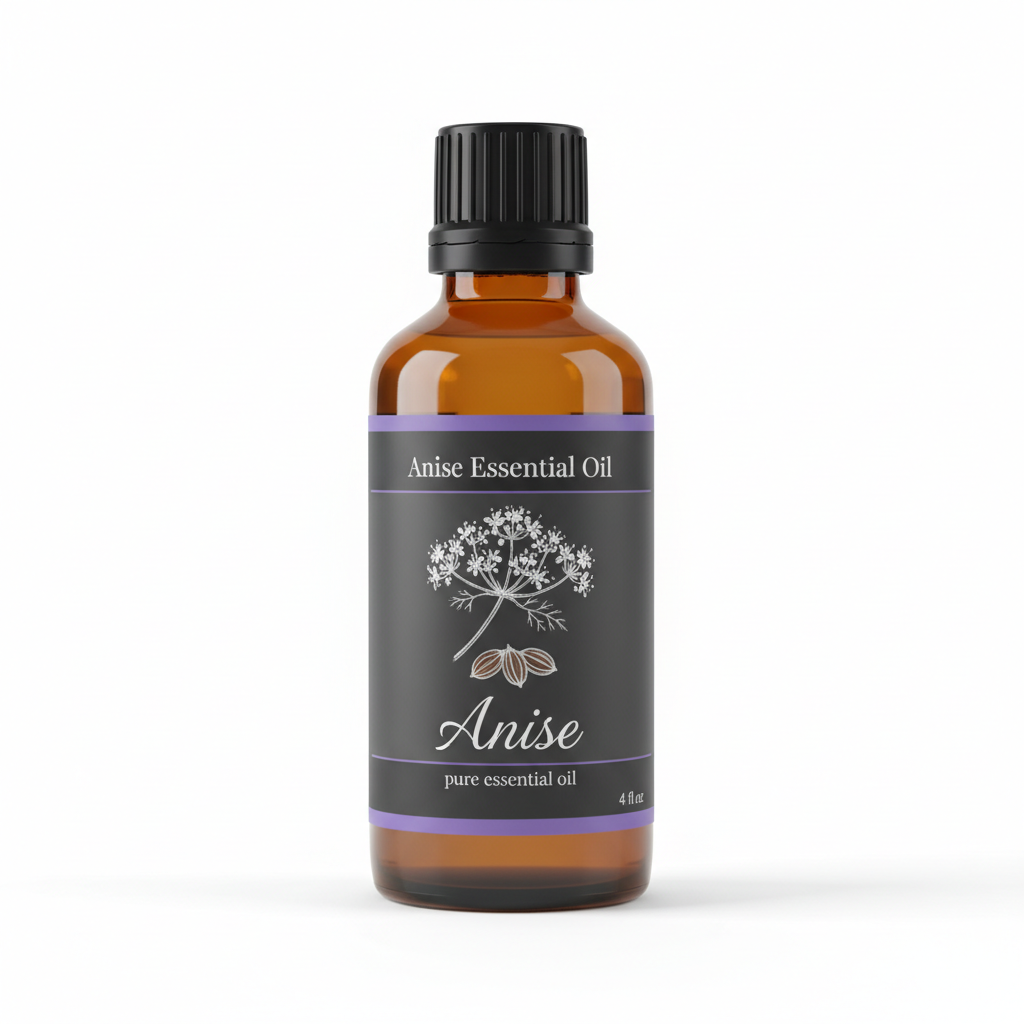
Anise Essential Oil
Our own Anise Essential Oil, in sizes from 0.5 oz to bulk.
From $8.99
Shop Now →If you are new to candy making, this recipe is a wonderful starting point. If you have made hard candies before, you will move through it quickly. Either way, read the full instructions before you begin. Hard candy is forgiving in some ways and unforgiving in others, and a few minutes of preparation will save you from a sticky disaster.
Before You Begin: A Note on Food-Grade Anise Oil
Not all anise oil is created equal, and this distinction matters enormously in a candy recipe. Only use food-grade anise essential oil that is explicitly labeled for culinary use. Cosmetic-grade or aromatherapy-grade oils are not intended for consumption and should never be used in food.
Food-grade anise oil is highly concentrated. A single drop contains the flavoring power of a large quantity of whole seed. This is why the measurements in this recipe are given in drops, not teaspoons. Precision here protects both the flavor of your candy and your wellbeing.
For a deeper look at how anise oil behaves across different applications, visit our anise oil uses: the ultimate guide from kitchen to tackle box. It covers sourcing, quality markers, and what to look for on a label.
Recipe Overview
- Difficulty: Intermediate
- Active Prep Time: 20 minutes
- Cooking Time: 20 to 30 minutes
- Cooling Time: 30 to 45 minutes
- Total Time: Approximately 1 hour 15 minutes
- Yield: Approximately 60 to 80 small candies, depending on size
Equipment You Will Need
- Heavy-bottomed 2-quart saucepan
- Candy thermometer (essential, not optional)
- Silicone candy molds or a rimmed baking sheet lined with a silicone mat
- Heat-resistant silicone spatula
- Measuring cups and spoons
- Small dropper or pipette for the anise oil
- Pastry brush and small bowl of water (for brushing down sugar crystals)
- Powdered sugar or cornstarch for dusting (if using a baking sheet method)
Ingredients
| Ingredient | Amount | Notes |
|---|---|---|
| Granulated white sugar | 2 cups | Plain white sugar; do not substitute powdered sugar |
| Light corn syrup | 2/3 cup | Prevents crystallization |
| Water | 1/2 cup | Filtered water preferred |
| Food-grade anise essential oil | 10 to 15 drops | Start with 10; adjust in future batches |
| Gel food coloring (optional) | A few drops | Red or black for a classic look; gel holds up better than liquid in hot sugar |
| Powdered sugar or cornstarch | 1/4 cup | For dusting finished candies to prevent sticking |
Step-by-Step Instructions
Step 1: Prepare Your Workspace
Set up everything before the sugar goes on the heat. Once the cooking process begins, it moves quickly and you will not have time to search for equipment. Lightly grease your silicone molds or prepare your lined baking sheet. If you are using a baking sheet, dust it lightly with powdered sugar or cornstarch. Measure out your drops of anise oil into a small heatproof bowl and set it aside within easy reach.
Step 2: Combine Sugar, Corn Syrup, and Water
In your heavy-bottomed saucepan, combine the granulated sugar, corn syrup, and water. Stir gently over medium heat until the sugar has fully dissolved. This usually takes 3 to 5 minutes. Once the mixture is clear and no grains of sugar are visible on the spatula, stop stirring. Stirring after this point encourages crystallization.
Step 3: Cook to Hard Crack Stage
Attach your candy thermometer to the side of the pan, making sure the tip does not touch the bottom. Raise the heat to medium-high. As the syrup cooks, brush down the sides of the pan with a wet pastry brush every few minutes. This dissolves any sugar crystals that form on the pan walls before they can seed the batch.
Cook the syrup without stirring until it reaches 300°F to 310°F (149°C to 154°C). This is the hard crack stage. At this temperature, a small drop of syrup drizzled into a glass of cold water will harden immediately into a brittle, glassy thread. Do not rush this stage and do not walk away from the pan. The temperature climbs slowly at first, then accelerates as the water evaporates.
Step 4: Add Color and Remove from Heat
Once the syrup reaches 300°F, remove the pan from the heat immediately. If you are adding gel food coloring, stir it in now with a few careful strokes. The syrup will be extremely hot and may bubble briefly when you add anything to it.
Step 5: Add the Anise Oil
This is the most important step to get right. Let the syrup sit off the heat for exactly 60 seconds. This brief rest allows the temperature to drop slightly, which reduces the risk of the volatile flavor compounds in the anise oil evaporating too quickly on contact. Add your 10 to 15 drops of food-grade anise oil and stir swiftly but gently. You will smell the anise immediately. Work fast, because the syrup is beginning to set.
Step 6: Pour Into Molds or onto the Baking Sheet
Pour the syrup carefully into your prepared molds. If using a baking sheet, pour the syrup in a thin, even layer and allow it to begin setting. Once it is firm enough to handle but still slightly pliable (about 5 minutes), use an oiled knife or pizza cutter to score it into small rectangles or irregular shards. Move quickly during this window.
Step 7: Cool Completely
Allow the candy to cool at room temperature for 30 to 45 minutes. Do not refrigerate it during this stage. Cold air introduces moisture, which makes hard candy sticky and causes it to weep. Once fully hardened, pop the pieces from the molds or break the sheet along your scored lines.
Step 8: Dust and Separate
Toss the finished candies lightly in powdered sugar or cornstarch to prevent them from sticking together. Shake off the excess in a fine mesh sieve.
Safety Warnings
Important: Hot sugar syrup can cause serious burns. It reaches temperatures above 300°F and adheres to skin on contact. Keep children and pets out of the kitchen during the cooking and pouring stages. Never leave the pan unattended. Use oven mitts when handling the pan and work on a stable, heat-resistant surface.
Food-Grade Anise Oil Safety
- Use only culinary or food-grade anise oil. The label must specify it is safe for consumption.
- Concentration matters. The 10 to 15 drop range in this recipe is intentional. Adding more will not simply make the candy taste stronger in a pleasant way. It may result in an overwhelming, sharp flavor and could cause discomfort for some individuals when consumed.
- Anethole sensitivity: Anise oil contains a compound called anethole. Some individuals are sensitive to plants in the Apiaceae family (which includes anise, fennel, and celery). If you have known sensitivities to these plants, consult a qualified healthcare provider before consuming anise oil products.
- Not for young children: Hard candy is a choking hazard for children under four years old. Additionally, concentrated anise flavor is very intense and may not be appropriate for young children. Always supervise.
- Not intended to address any health condition. This is a confectionery recipe. If you have any health concerns, please consult a qualified healthcare provider.
Storage Instructions and Shelf Life
Store your finished anise oil candy in an airtight container at room temperature. Keep the container away from direct sunlight, heat, and humidity. A cool, dry pantry or cupboard is ideal.
When stored properly and well-dusted with powdered sugar, homemade hard candy keeps well for 4 to 6 weeks. Humidity is the enemy of hard candy. On humid days, the surface may become slightly tacky. A fresh dusting of powdered sugar usually resolves this.
Do not store hard candy in the refrigerator or freezer. The moisture from condensation will cause the candy to soften and stick together.
For gifting, wrap individual pieces in small squares of cellophane twist-wrapped at both ends. Pack them in a tin lined with parchment for a finished, old-fashioned presentation.
Variations and Substitutions
Color Variations
Classic homemade licorice candy often appears in deep red or black. Red gives a festive, old-fashioned look without any flavor implication. Black requires black gel food coloring, which is very concentrated; use it sparingly. You can also leave the candy clear and golden for a more neutral appearance.
Flavor Layering
Anise pairs naturally with a small amount of vanilla. Add 1/4 teaspoon of pure vanilla extract at the same time as the anise oil for a rounder, slightly creamier flavor profile. You can also add 1/8 teaspoon of ground star anise powder to the sugar mixture at the beginning for a subtly different aromatic quality alongside the oil.
Corn Syrup Substitution
If you prefer to avoid corn syrup, golden syrup (such as Lyle's) is the most reliable substitute in a 1:1 ratio. It adds a faint butterscotch undertone. Some confectioners use pure glucose syrup, which is virtually flavorless and works very well. Honey is not recommended here because it burns at high temperatures and will overpower the anise.
Shaped Candy
If you want shaped pieces rather than poured molds or free-form shards, work with the syrup during the brief window when it is cool enough to handle but still pliable. Wearing food-safe silicone gloves, pull and shape small portions quickly. This technique takes practice but produces beautiful, artisan-style pieces.
Lollipop Version
Pour the syrup into round silicone molds and press a lollipop stick into each one immediately after pouring. Work quickly before the surface sets. Allow to cool completely before removing.
Troubleshooting Common Problems
Candy is sticky or won't harden
The syrup did not reach hard crack temperature. Always trust your thermometer over your timer. High humidity on the day of cooking also makes it harder for hard candy to set properly. Try making candy on a dry day.
Candy is cloudy or grainy
Sugar crystals formed during cooking. This usually happens because the sides of the pan were not brushed down, because the mixture was stirred after it came to a boil, or because an undissolved grain of sugar fell back into the pan. The candy is still edible but will have a sandy texture rather than a glassy one.
Flavor is too faint
The anise oil may have been added when the syrup was still too hot and the volatile compounds evaporated before they were captured in the candy. In your next batch, wait the full 60 seconds off heat before adding the oil, and stir quickly but thoroughly.
Flavor is too intense
Reduce to 8 drops in your next batch. Food-grade anise oil varies in concentration between brands, so some adjustment between batches is normal.
Going Further with Anise Oil
Anise oil's reach extends well beyond the kitchen. If this recipe has introduced you to the ingredient for the first time, you may be curious about its other applications. Our guide to anise oil for hair: cosmetic uses in rinses and scalp blends explores how cosmetic-grade anise oil is used in hair care routines, from rinses to aromatic scalp blends.
If you are browsing finished products rather than DIY projects, our overview of beauty products with anise oil: what to look for on the shelf walks through label-reading tips and quality indicators for commercially formulated anise oil products.
For now, though, the candy is the point. Make your first batch, take notes, and adjust. Hard candy rewards patience and precision, and an anise candy made with real food-grade oil has a brightness that store-bought versions rarely match. The spice market sweetness is worth every careful degree on the thermometer.